How to Get a Chrome Finish on Plastic Parts
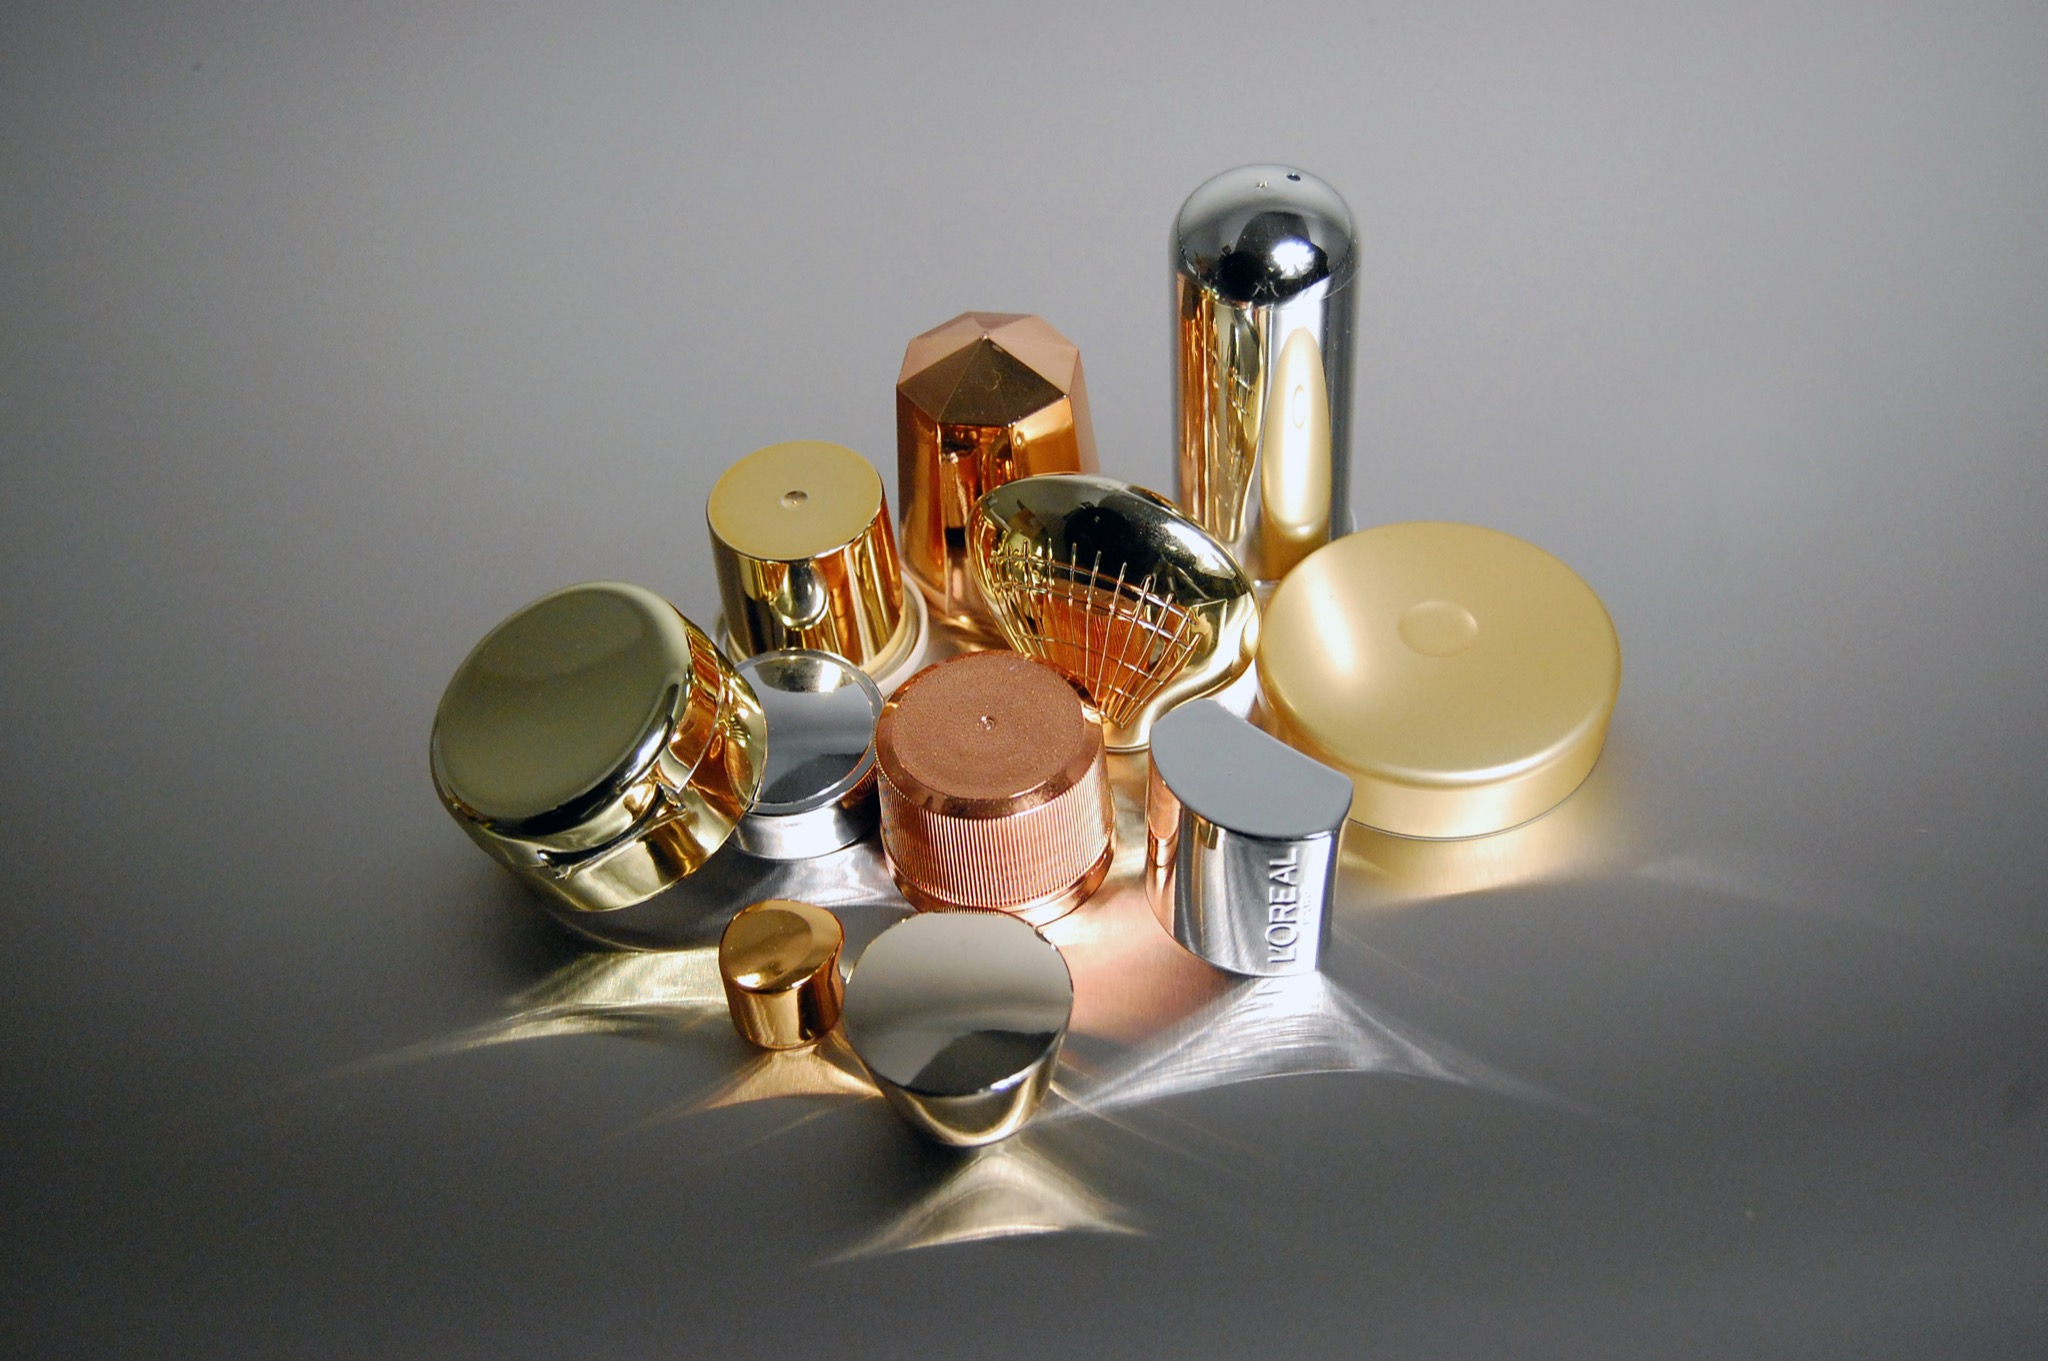
The most reliable way to get a chrome finish on plastic is vacuum metalizing: a basecoat is applied to the molded part, a thin film of aluminum is evaporated onto it inside a vacuum chamber, and a clear or tinted topcoat seals the metal. The result is a mirror-bright, chrome-like surface on nearly any molded resin — without electroplating chemistry and without restricting your design to plating-grade ABS.
Why Plastic Can’t Just Be Plated Bright
Molded plastic is non-conductive and never perfectly smooth — flow lines, sink, and micro-texture all telegraph through a bare metal film. Traditional plating solves conductivity with aggressive etching and electroless nickel, but it works well only on a narrow set of resins. Vacuum metalizing takes a different route: physical vapor deposition eliminates the need for conductivity entirely, and a cured basecoat promotes adhesion between the plastic and the metal. The basecoat does not compensate for surface defects, so appearance still depends on how well the part is molded. That opens the process to ABS, ABS/PC, polycarbonate, nylon, polystyrene, SAN, PET, PP, HDPE — even glass, metal, and 3D-printed parts.
Step 1: Start with a Mold-Ready Substrate
A chrome finish on plastic is unforgiving of surface defects, so success starts in the molding press. The essentials:
- Resin selection. Confirm the resin is compatible with the basecoat system and with the part’s end-use temperature.
- Clean molding. Avoid silicone-based mold releases and internal lubricants that migrate to the surface and cause adhesion failures or fisheyes.
- Surface quality. Minimize sink marks, knit lines, and splay in appearance areas; a bright finish amplifies whatever is beneath it.
- Handling. Keep parts clean and un-fingerprinted between molding and finishing.
Mueller’s team reviews part design and gating with customers early, because a small tooling adjustment is far cheaper than fighting a cosmetic defect across a production run.
Step 2: Apply the Basecoat
The basecoat does the quiet work in every metalized finish. Sprayed onto the part and cured, it seals the substrate and provides the adhesion bridge between plastic and metal. What it does not do is compensate for surface defects: it will not level flow lines, sink, or texture, so a bright finish still depends on a well-molded part. Basecoat chemistry is matched to the resin and to downstream requirements — flexibility for snap-fit parts, temperature resistance for lighting components. Get the basecoat right and the aluminum above it adheres cleanly and performs; get it wrong and no amount of metal will hide it.
Step 3: Vacuum Metalize the Aluminum Layer
Basecoated parts are racked on custom fixtures — built in-house at Mueller — and loaded into the vacuum chamber. Under high vacuum, aluminum is thermally evaporated and condenses onto the parts as a uniform film. This step, formally known as vacuum metallization, takes minutes per cycle and coats every racked part identically. Rotation during deposition ensures even coverage on curved and multi-faced geometry. Mueller’s chambers handle parts up to 24 inches in diameter and 60 inches long. The full process is described on our vacuum metalizing technology page.
Step 4: Seal It with a Protective Topcoat
Bare evaporated aluminum is brilliant but delicate, so every part receives a protective topcoat. The topcoat determines the finish’s real-world durability — abrasion resistance, chemical resistance, UV stability — and its final appearance. A water-clear topcoat yields classic bright chrome; tinted topcoats produce gold, black chrome, smoke, and custom colors from Mueller’s library of more than 50 finishes. Explore the range on our decorative vacuum metalizing page.
Quality Checks That Matter
A production chrome finish on plastic should be validated, not assumed. Typical checks include cross-hatch adhesion testing, humidity and thermal-cycle exposure, and appearance inspection under controlled lighting. For automotive programs, Mueller supports PPAP-style validation, and the company operates under ISO 9001:2015 and AS9100:2016 quality systems.
Where Chrome-Finished Plastic Shows Up
Once the process is dialed in, it scales across markets: automotive interior trim and badging, lighting bezels and reflectors, appliance handles and control rings, consumer electronics accents, plumbing trim, and cosmetics caps and closures. The same four-step stack — substrate, basecoat, metal, topcoat — serves all of them; only the resin, topcoat chemistry, and fixturing change from program to program.
Work with Mueller Coatings
Mueller Coatings has been putting chrome-bright finishes on plastic since 1955, finishing more than 50 million parts annually in its 65,000 sq. ft. East Bridgewater, Massachusetts facility — with no minimum order quantity, from 50 pieces to millions. Send us your part or print and request a quote; we will recommend the right basecoat, metal, and topcoat stack for your application.
Can any plastic get a chrome finish?
Most molded resins can be metalized, including ABS, polycarbonate, nylon, PET, PP, and HDPE, because the basecoat — not the raw resin — is what the metal adheres to. Resin choice still matters for adhesion and temperature performance, and the molded surface still determines the final appearance, so confirm both early.
Will a metalized chrome finish crack or peel?
Not when the stack is engineered correctly. Adhesion failures almost always trace back to substrate contamination or a mismatched basecoat, which is why surface prep and resin review come before anything else.
Does the chrome finish affect part dimensions?
Negligibly. The aluminum layer is typically 0.5 micron thick, and the basecoat and topcoat are thin films as well, so tolerances, snap fits, and mating features are preserved.